The flipped classroom has become one of the most effective methods for creating engaging lessons in ESL. Instead of spending most of the lesson lecturing, teachers guide students to prepare at home so that class time is dedicated to practice, speaking, and collaboration. This approach works especially well in English as a Second Language classrooms, where students need as much interaction as possible.
If you’ve been curious about flipping your classroom, this guide will walk you through the process step by step — from planning lessons to choosing the right tools and keeping students accountable.
Step 1: Explain the Flipped Classroom to Your Students
Before you jump into lesson planning, take time to explain the flipped classroom model. Many students (and sometimes parents) have never worked with this method before, so setting expectations is key.
Tell your students:
- At home, they’ll watch a short video or review material before class.
- In class, they’ll use that knowledge for speaking, writing, and interactive activities.
This explanation helps avoid confusion and builds student accountability.
👉 Helpful tools: Recording quick explanation videos doesn’t require a big budget. A ring light ensures you look professional on camera, while a mini whiteboard is perfect for filming simple grammar explanations.
Step 2: Choose Effective Pre-Class Content
The flipped model depends on giving students something manageable before class. Keep it short — a 5-minute grammar video, a short reading, or a set of vocabulary flashcards works best.
Some teachers create their own materials, while others use ready-to-go resources. If you’re short on prep time, my Writing Prompts for ESL Students and 100 Speaking Games for Young Learners are great options. Students can review prompts at home and arrive ready to practice in class.
👉 Amazon classroom tool: If you plan to record lessons, a document camera is a lifesaver for showing textbooks, worksheets, or notes clearly without editing.
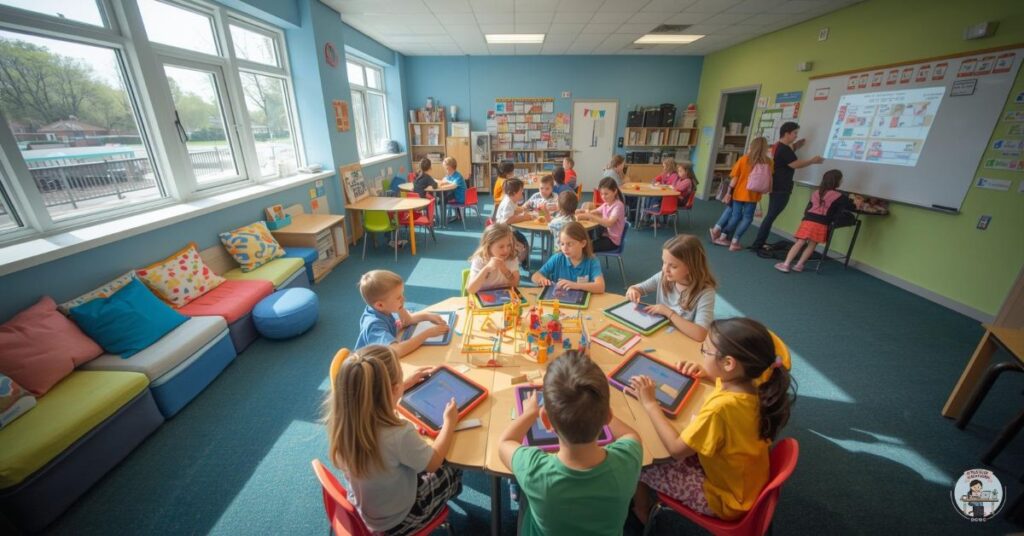
Step 3: Transform Class Time into Practice Time
Once students arrive, the classroom becomes a space for application. Instead of repeating theory, focus on:
- Pair work and role plays
- Debates and discussions
- Collaborative writing
- Group projects
The goal is to maximize student talk time. Even shy learners benefit when class is structured for interaction.
To keep activities running smoothly, I love using a digital classroom timer to set clear limits for group work. For hands-on games, my ESL Sentence-Building Posters and Editable Flashcards are great for encouraging creativity and making review sessions fun.
Step 4: Keep Students Accountable
One challenge of the flipped classroom is ensuring students actually do the pre-class work. Without it, class activities lose impact. To build accountability, you can:
- Begin with a short quiz or quick check-in.
- Ask students to share one thing they learned from the material.
- Use mini whiteboards so everyone shows answers at the same time.
👉 I recommend having a pack of dry erase markers for quick check-ins. They’re inexpensive and work great for group participation.
If you want an even easier option, my Editable Checklists let you track pre-class tasks while helping students stay organized.
Step 5: Blend Technology with Simplicity
Some teachers worry that flipped learning requires advanced tech. The truth is, you can flip lessons with just a PowerPoint file, a PDF, or even a voice recording. What matters most is consistency and making sure students always know what to expect.
Still, certain tools can save you time and keep lessons clear:
- A USB microphone improves audio quality when recording.
- A lap desk is handy for teachers recording at home with limited space.
- Online platforms like YouTube or Google Drive work perfectly for sharing materials.
In the classroom, visual reminders help keep the system running smoothly. My ESL Posters are designed for this — you can display flipped learning rules, activity expectations, and language prompts.
Why ESL Teachers Love the Flipped Classroom
Teachers who have adopted flipped learning in ESL settings often highlight:
- More time for speaking and communication — instead of teacher lectures.
- Flexibility — works for online, hybrid, and in-person classes.
- Student independence — learners take more responsibility for their progress.
- Stronger engagement — activities are more dynamic when everyone comes prepared.
Even if you start with just one flipped lesson per week, you’ll notice a big difference in how much English your students actually use.
Final Thoughts
Flipping your classroom doesn’t mean reinventing your entire teaching style — it’s about shifting where learning happens. By preparing at home and practicing in class, ESL students gain more chances to speak, collaborate, and build confidence in English.
💡 Ready to try it yourself? Explore my ESL Resources Collection for writing prompts, speaking games, and editable checklists that fit perfectly into flipped lessons.
💡 Need classroom tools that make your prep easier? Browse my Amazon Teacher Essentials Storefront for budget-friendly products that save time and energy.